

How I made DIY Christmas ornaments to download and print with free softwares
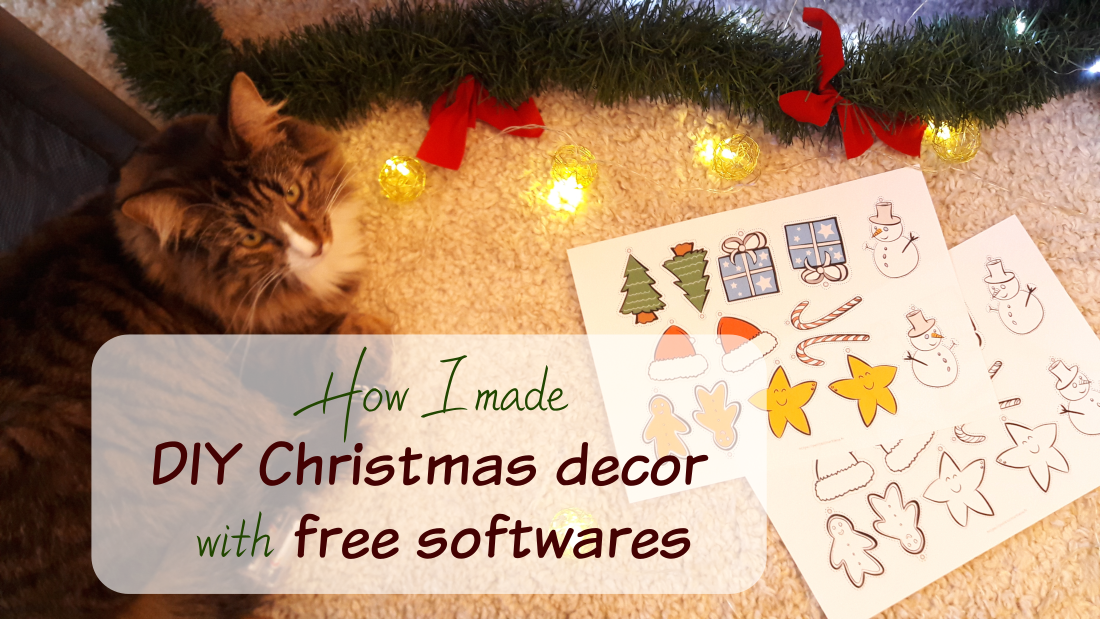
Ho ho ho ! It's the time of year where there are lights and Christmas decor everywhere in the streets and in the shops, physical and online ones. I will not make exception because I will share with you my process of how I designed DIY Christmas decor that you can download, print, and assemble at home. They are on the shop 🎅
I had already made an advent calendar that you can print and cut with scissors, you can download it for free here.
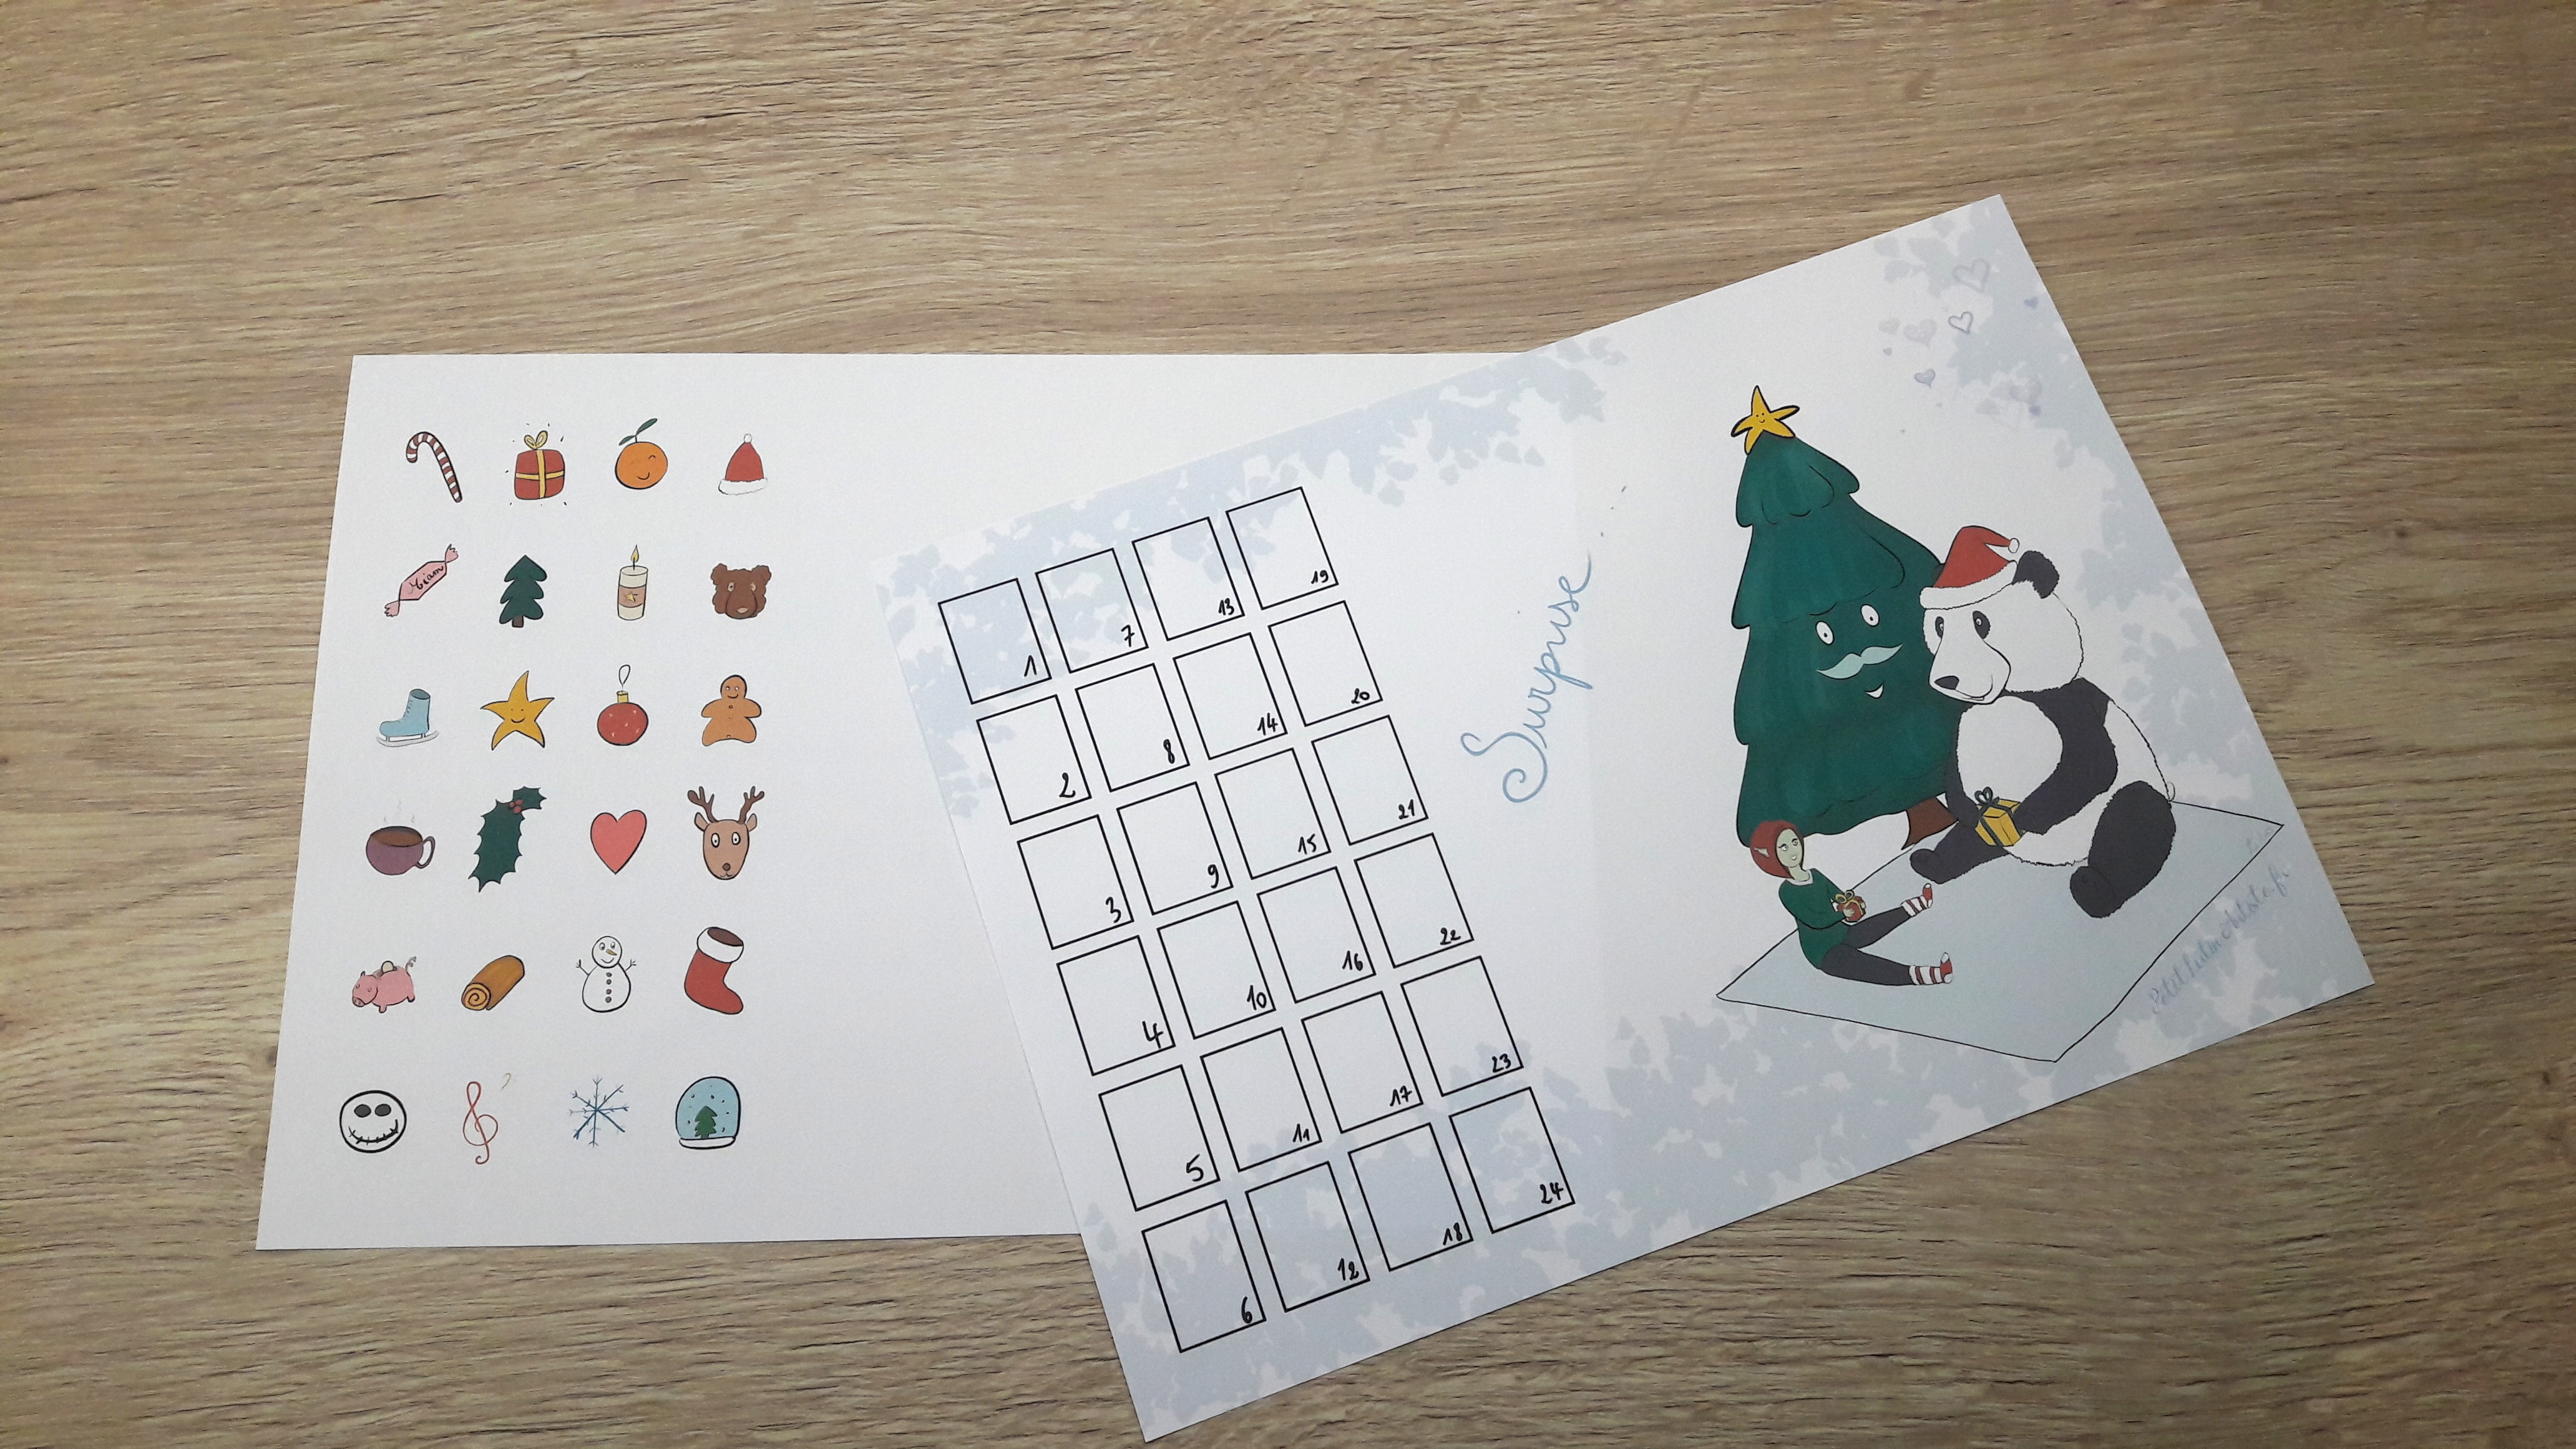
The two pages
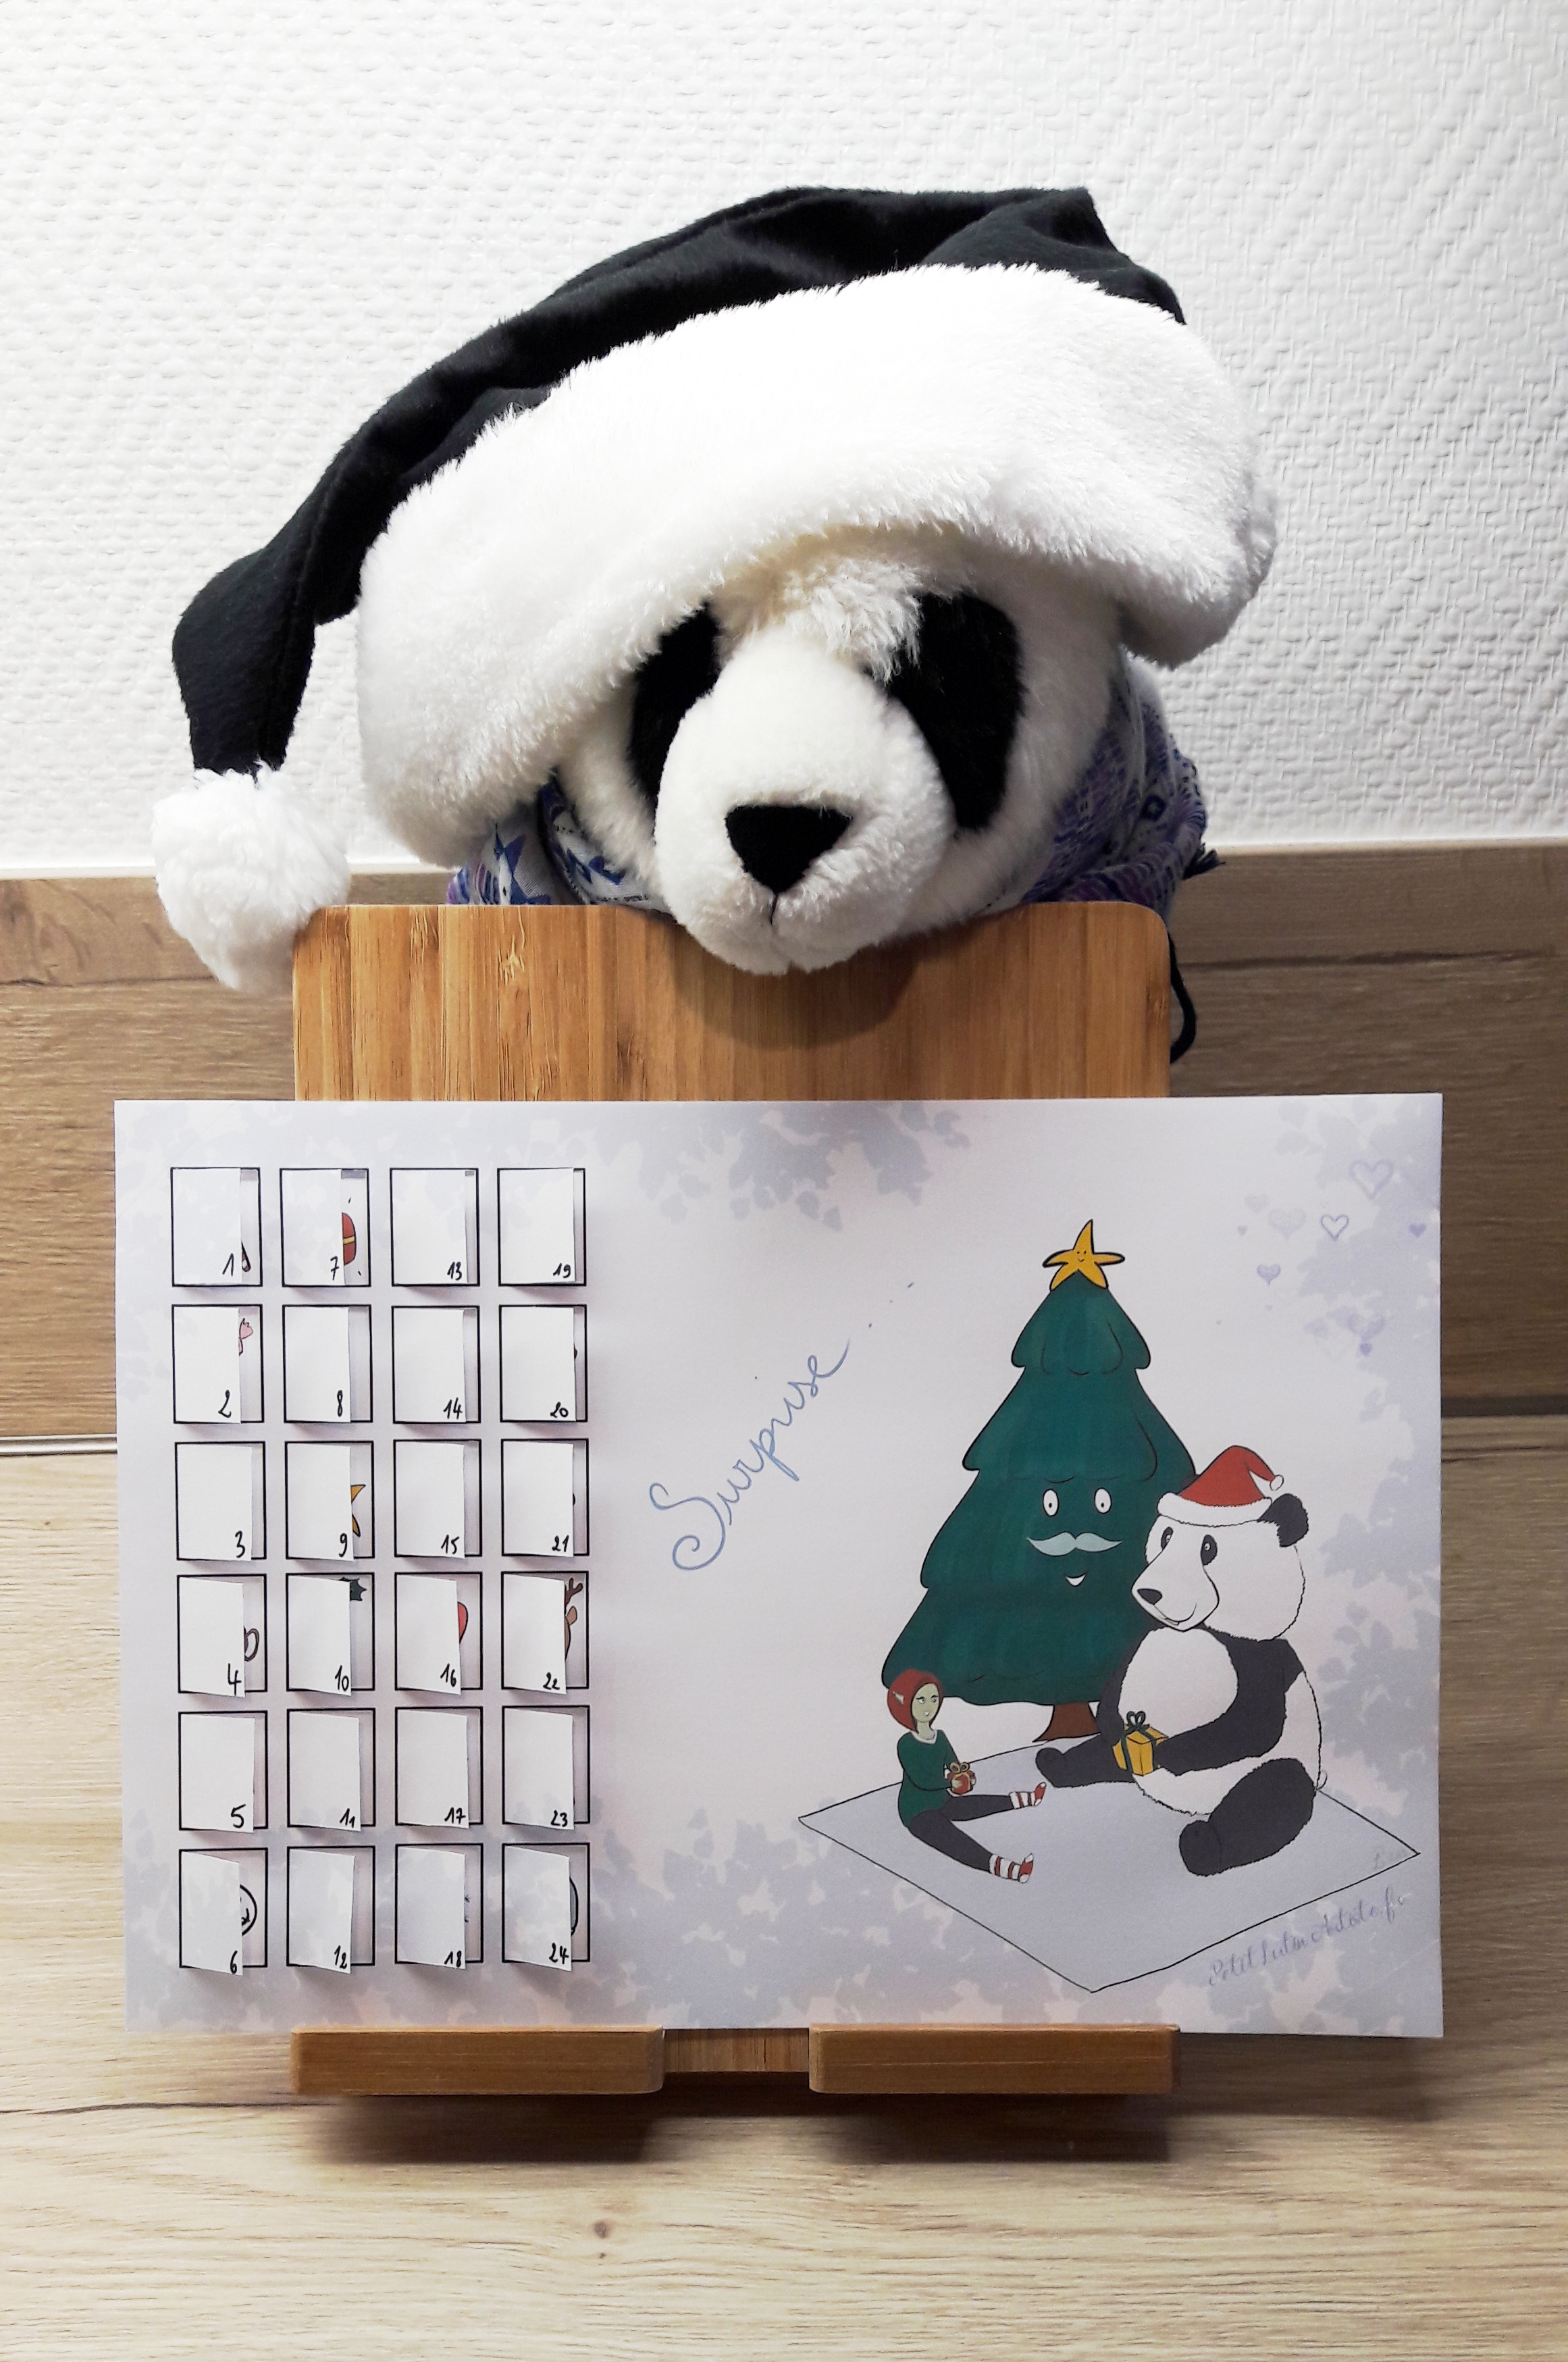
The final result
Download the free printable advent calendar
And last year, I thought it could be nice to create my own Christmas decor, using the most obvious patterns: a Santa Claus hat, a snowman, a gingerbread character... I had the ideas, I "just" had to make them real with my favourite tools: my sketchbook, and a bunch of free/libre softwares.
I wanted to make Christmas decor that you could hang on the tree - or anywhere else -. They are available for download, and they are printable. I made a tutorial about the assembly on the second part of this article. Here are the final result below, so you can have a better idea of my creation process of the beginning in the article.


Summary
- 1. First thing first, sketches
- 2. Inking, or "doing nice strokes"
- 3. Vectorization
- 4. Organizing patterns in sheets
- 5. What about the color?
- 6. Cutting lines
- 7. Tests
- 8. Photos, then uploading on the shop
I. Design
1. First thing first, sketches
I always start by doing some doodles in my sketchbook. It's easier and more spontaneous for me, no need to wait for the sketchbook to boot 😂 You'll see that I haven't kept all the patterns, I thought that they were not all necessary in a first place.

Trust the process
2. Inking, or "doing nice strokes"
In my current process, I would shoot a picture of my sketchbook with my Android tablet - a Samsung Galaxy tab S7 that I've got for two years now -, and I would open the photo in Krita for Android. But last year, it was not what I did, because I absolutely want the result of one brush (the basic-5 size default, created initially by David Revoy, and I did not like the result of this brush on Android. I had made a video on the difference of pressure sensitivity between the S Pen and the stylus of my Huion graphical tablet, you can find it ici.
Then I scanned my sketches, and opened them in the desktop version of Krita. I "ink" the patterns I decided to keep, in black. I want to be able to print them either in colours or in black and white, so I don't add colours in Krita. I export the result .png.

3. Vectorization
Software shift! I import my .png with my clean strokes into Inkscape, a vector program. I convert my image into vectors by doing:
4. Organizing patterns in sheets
Now we have vectorized patterns, in black and white. I wanted to create one sheet by pattern, as long as one sheet combining them all.
I then created a new document in A4, and started placing patterns on it. For the sheets with a single pattern, I thought it would be more interesting to have different sizes of it, in order to vary their use: hung in the tree, stuck in a bullet journal...
Resizing patterns without losing quality is possible now that our patterns are vectorized 😉 I place several sizes of patterns one a same page, being careful of the symmetry, in order to make recto-verso decor.
💡 This was the occasion for me to learn about the following keyboard shortcuts: once you selected your object, press v to flip it vertically, or h to flip it horizontally 😉
5. What about the color?
This is a really good question! Well, for the first pattern, I had placed all the elements on the page and I copy/pasted the colour after, for each of them... 😑 What a waste of time with the risk of messing up the placement of the colours... I obvioulsy learned from this mistake pour the other patterns. Once the element vectorized, I added his color on another layer, and then I grouped the ink and the colors, and I copy pasted as many times as needed. Much better!

6. Cutting lines
I haven't talk about it until now, but from the time I had the vectorized strokes, I absolutely wanted to add cutting lines around the patterns, to indicate how to cut them and where to place the hole. The tool "Beziers curves" is perfect for this. Every pattern has his own cutting lines. I wanted to make them either dotted or dashed. You'll see later that this detail matters.
7. Tests
If there is one thing that I learned from my past work experiences, it's that a sample or a test cost way less much energy, stress and money that trying to fix a messed bulk production. So, let's test my patterns, export them in PDF and print it! If you work in print, you may already see the problem? Either way, you'll discover like me on the pictures.
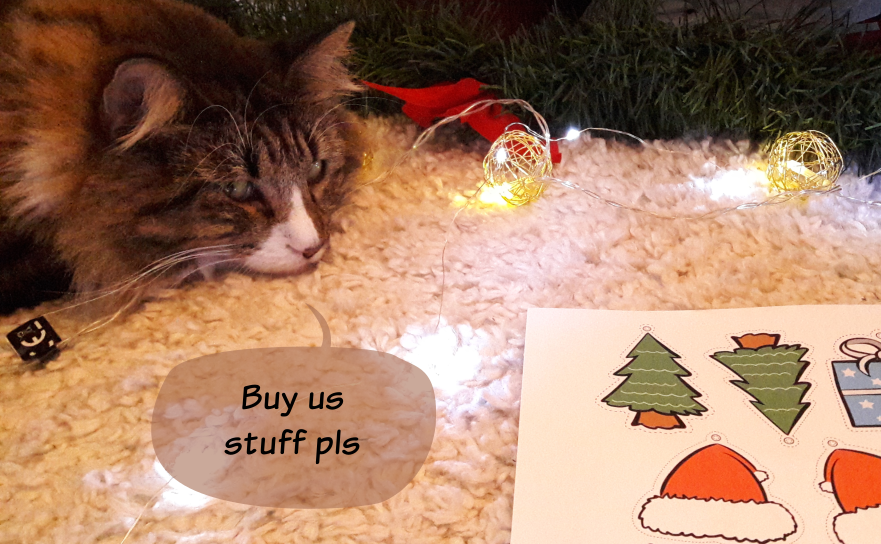
Having a cat-ssistant like Symphonie is not necessary to find printing problems, but it makes the task nicer 😊


Do you remember about the cutting lines, that I wanted dashed? They became regular strokes when printed, and it was not what I wanted. I changed some settings about the lines in Inkscape, but mostly, I import my PDF into Scribus, a software made for preparing the printing process (!) Then I export my PDF again, and I print again. It's beeeeetter! I can do the same for other patterns.

Differents tests with different configurations, with the expected result on foreground
Photos, then uploading on the shop
I don't have a photo studio at home, and the winter natural light is really pale where I live, so my photos were a little bit dark. I started by shooting photos with the Christmas ambiance and many decor, but it was quite dark, so i came back to my good old method - which requires some equipment though -, which is to shoot pictures on my kitchen worktop, which has light coming from above.
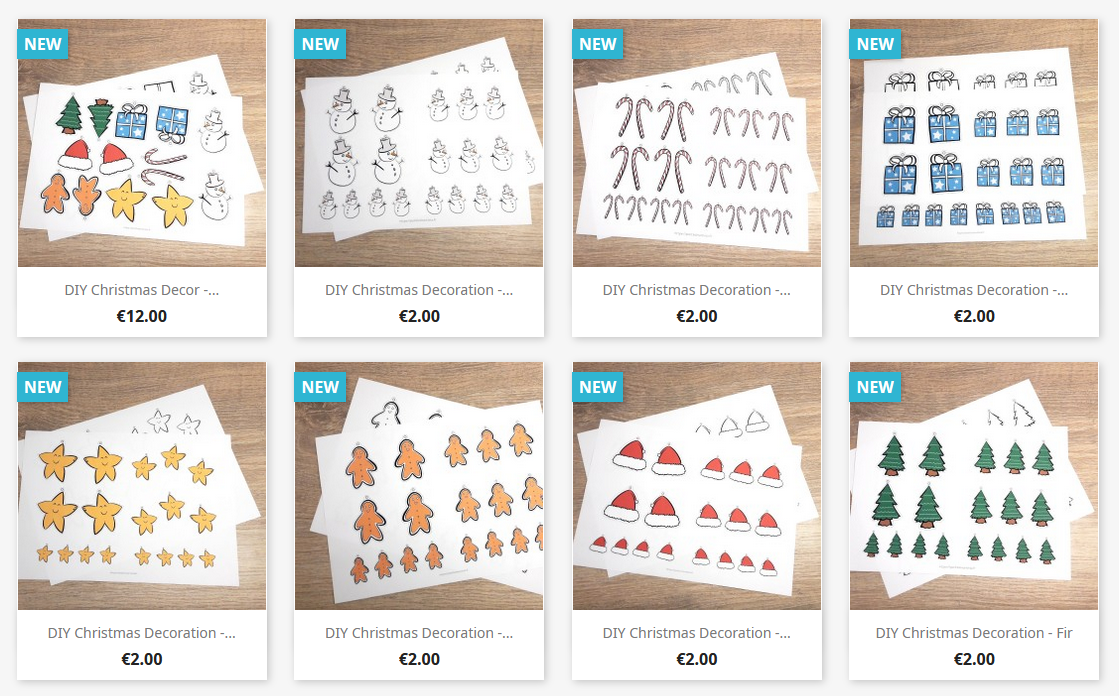
You can click on the picture to go to the shop 🎄
Each pattern exists both in colours and in black and white, in order to save ink and to make (big) kids colorize them 😊
So, now that we have pretty patterns, how do we turn them into Christmas decor? That's the moment where you go to the shop, you download the pattern(s) that you like, and you print them 😃
II. Assembly
What you'll need:
- - scissors
- - glue
- - a piece of cardboard or thick paper to make the pattern more rigid (optionnal)
- - a cutter for the carton (optionnal)
- - some thread a needle

- 1. Cut the patterns following the dashed lines
- 2. Glue them on a piece of cardboard or a thick paper (optionnal)
- 3. Glue the patterns recto-verso
- 4. Put a thread into a need, and pass the needle into the hole designed in the pattern
- 5 Make a knot with the thread
- 6. Hang your new pattern!


And voilààà!
Download the DIY Christmas decor
I couldn't resist to make a funny cartoon with this picture of Symphonie, who is the best model for marketing photos 😇